Four boating knots you need to know
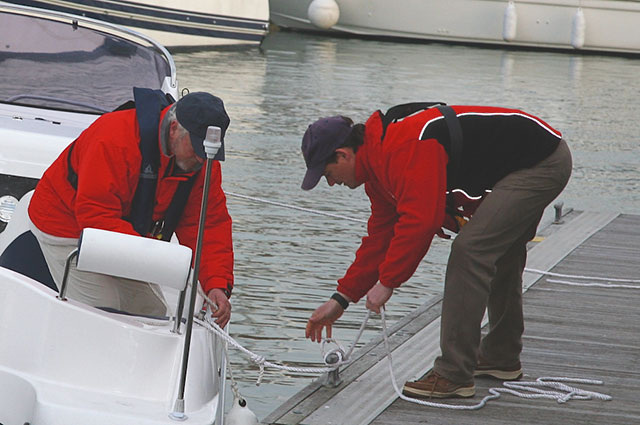
Plenty of salty sea dogs insist that tying knots is a mystical art on par with levitation. But it isn’t. These four practical boat knots will let you tie up your boat, impress your friends, and secure almost anything. Super-strong and easy to learn: these knots won’t let you down.
Mastering essential boating knots doesn’t require a degree in ‘old salty seadog-ery’. The most important knots are simple, strong, quick, and easy to untie, ensuring a smooth sail and averting potential disasters.
In the boating world, we use the term ‘knots’ for several different things: There are hitches, where you tie a rope to something else; there are bends, where you attach one rope to another; and there are knots, where the line tends to be tied back on itself. But while each type of knot serves a unique purpose, the goal of all these is threefold - to maintain the rope's strength, to secure it during use, and to facilitate easy untying once its purpose is served.
There are only a select few knots that a power boater needs to know.
Even so, the fact that people write books on the art of tying knots says more about the time they have at their disposal than about the necessity of the content. Of course, there are thousands of variations on the knot theme, but do you really need a special one for dragging a log through deep forest undergrowth?
The answer is probably not, so unless you want to knock out a display of pretty rope shapes for the wall of some clichéd seaside pub, you can rest assured that just four knots will see you through on a sports boat or RIB – the clove hitch, the round turn and two half hitches, the sheet bend, and the bowline.
If you can master these few and are able to tie them reliably with cold wet fingers, you will be able to cope with any situation you are likely to encounter. Just one word of caution - a knot is only a knot once it has been pulled tight. Before that, it is no more than a jumble of tangled line trying its best to come undone.
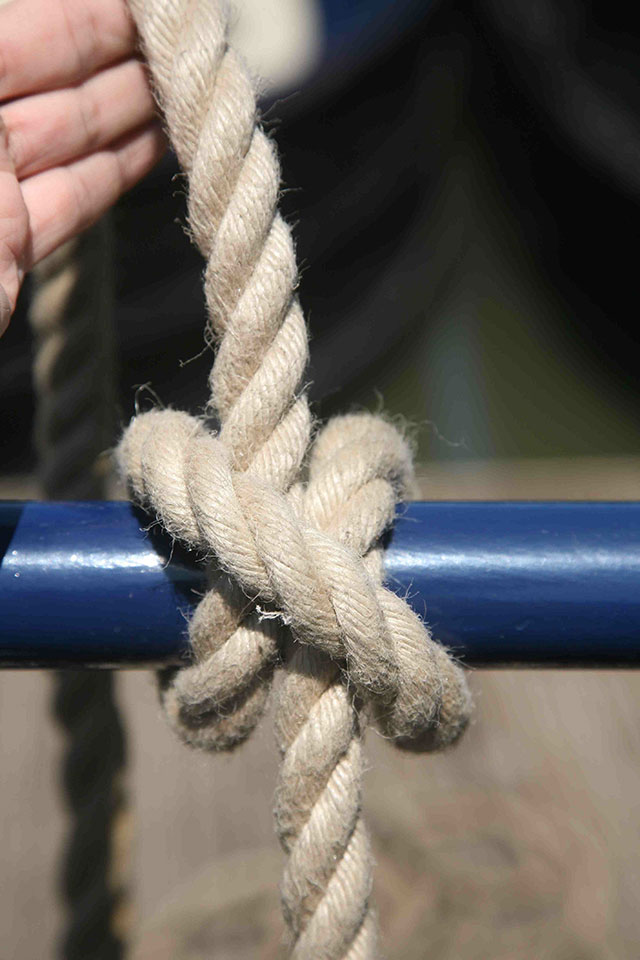
Essential Power Boating Knots: the clove hitch.
The clove hitch
The clove hitch knot is a great place to start for the amateur boat knot tier. It’s a simple knot that is easy to tie in less than two seconds. Because it is designed for light vertical pulls, it’s the ideal means of securing fenders to a rail. It's also quick to tie and easy to adjust for length as you can slide the rope through the bight and then pull it tight again. It’s not very secure on its own, so it really needs an overhand hitch on the loose end to make it secure. However, it works very well on rails and can easily be undone with a light load.
How to tie a clove hitch knot
Pass the end of the rope around the pole or object you’re securing the line to. Make a second turn in the same direction. Then, make a third turn, crossing underneath the second turn, and pull tight.

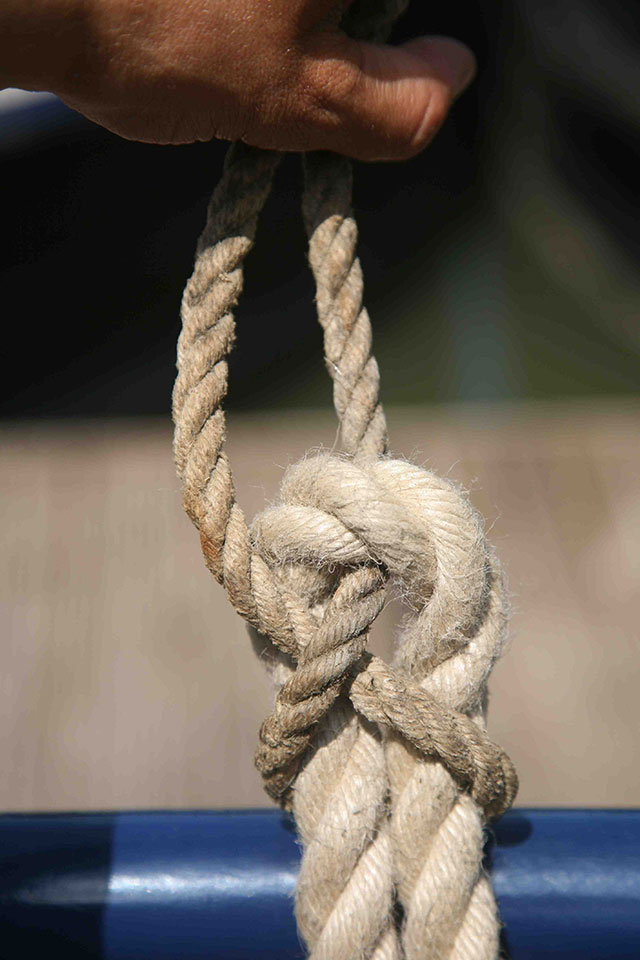
Essential Power Boating Knots: round turn and two half hitches.
Round turn and two half hitches
This is your do-it-all utility knot and can be used to attach a line to almost anything. As the name suggests, it consists of two parts - the round turn to take the strain and the two half hitches to secure the line.
It’s an easy one to tie and is particularly useful because you can untie it while the load is still on. This makes it the knot to use when attaching mooring lines to fixed objects in a tidal harbour - like a post or a ring. If you stay a bit longer than intended, you will still be able to release the lines. Just make sure that if the load is heavy, you add more turns and that, with the half hitches, you tie them both in the same direction.
How to tie a round turn and two half-hitches knot
Go around the object twice (more for a heavy load) with the line to take the strain while you tie the knot. Then, take the line around the standing end to make your first half hitch and pull tight. Repeat this in the same direction to make your second half hitch and pull tight to complete the knot. The working end of the line should be tucked under the second loop.
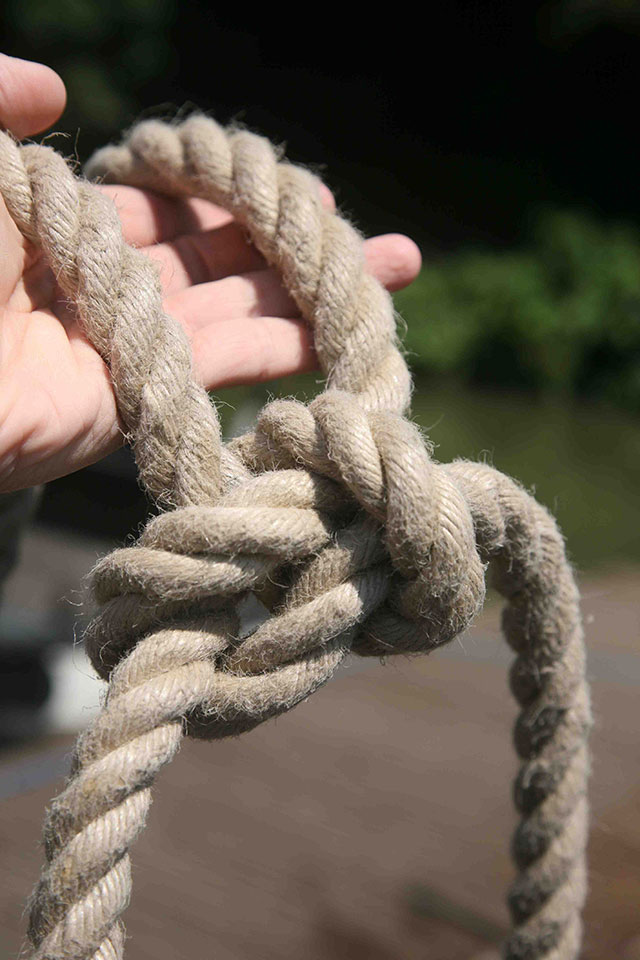
Essential Power Boating Knots: sheet bend.
Sheet bend
The sheet bend is the perfect knot (or, more accurately, ‘bend’) for joining two lines together. This practical boat knot is frequently used to lengthen a line that is too short or to tow another boat. It works exceptionally well when the two lines are of a different diameter. It is quite similar in construction to a bowline, but here, you use two lines instead of one. The secret is always to make the initial loop in the thicker line. Then, as the load increases, the thinner one bites in more forcefully.
How to tie a sheet bend knot
Make a loop in the thicker line. Pass the thinner one up and through the loop, then round the back of the tail and standing ends of the thicker line. Finish by tucking the thinner (working) line underneath itself and pull tight.
If you’re tying a heavy load, add a second loop in the thinner line to increase security.
Essential Power Boating Knots: bowline.
The bowline
The bowline has an undeserved reputation as a complicated knot to tie, so if you learn to do it quickly, your boating mates will take you for an authentic mariner. It is an ideal means of making an eye in the end of a line so you can attach your boat to a cleat, giving you a free end for the shore.
With practice, a bowline is quickly and easily tied and never slips when under load. That is obviously a good thing, but it also means that it can only be untied when the load has been removed, so don’t use a bowline on a ring ashore if the berth is tidal. If you do, and the tide falls, the load will come on the line as your boat begins to dangle, and you will only release the boat by cutting the line or waiting for the tide to give you back some slack.
How to tie a bowline knot
Make a small loop in the line, leaving enough working line to create the size of loop you require. Pass the working end of the line through the small loop. Continue around the standing end of the line, then back through the small loop. Pull tight from both ends until there’s no give in the knot.
Hooked? The International Guild of Knot Tyers could be for you!
Editors note: This article was originally published by Alex Smith in December 2018 and last updated by Pippa Shaw in September 2024.


